How to install WordPress with Plesk on DigitalOcean
WordPress hosting with Plesk on DigitalOcean's droplet (virtual machine)
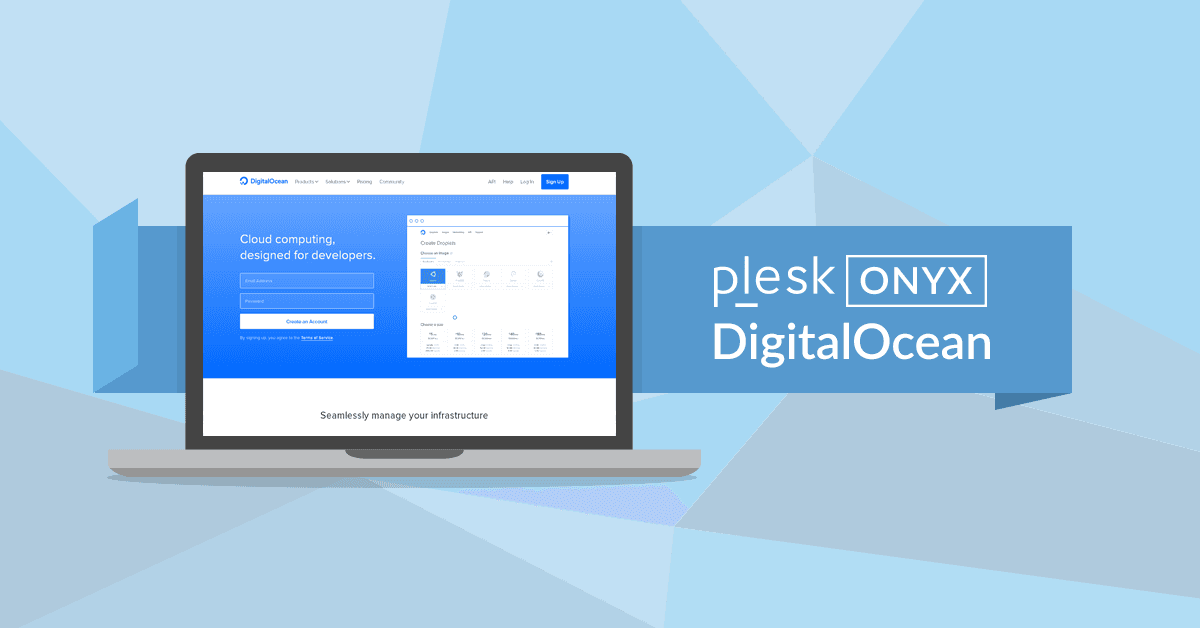
This is one of the cheapest and quickest solutions to have a website up and running that contains a blog with backups and your own email. The WordPress site is hosted on DigitalOcean's virtual machine (droplet) that goes for as low as 5$/month.
DigitalOcean compared to GCP, AWS, Azure, etc, offers a one click deployment with minimal configuration that allows you to host several WordPress sites (or CMS of your choice) through Plesk. This allows you to have personalized email accounts using your domain without additional cost. It's perfect for small businesses, MVPs or early projects.
To start you need a DigitalOcean account. From the referral link you get 100$ for 60 days.
The guide is as follows:
- Install Plesk on DigitalOcean
- Set up Plesk and install your WordPress site
- Set up SSL for WordPress
- Set up the webmail on Plesk
- Set up backups or snapshots for your DigitalOcean droplet
If you get lost and need technical support I can ignore you on Twitter @tekbog
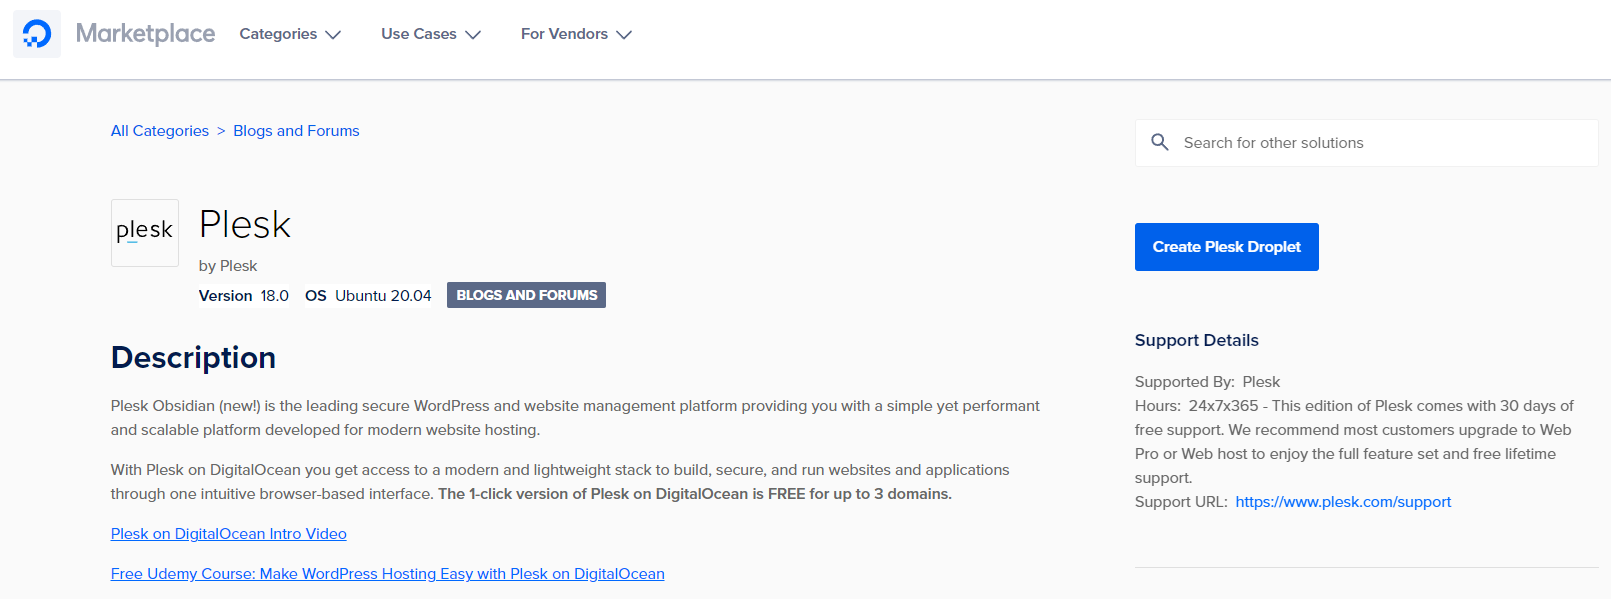
Install Plesk on DigitalOcean
What we are going to do is go to marketplace, search for Plesk and click on Create Plesk Droplet:
After we select our machine (remember to save the password, I personally use KeePassXC ).
Set up Plesk and install WordPress
We go into our droplet and copy the ip, which will lead us to this page:
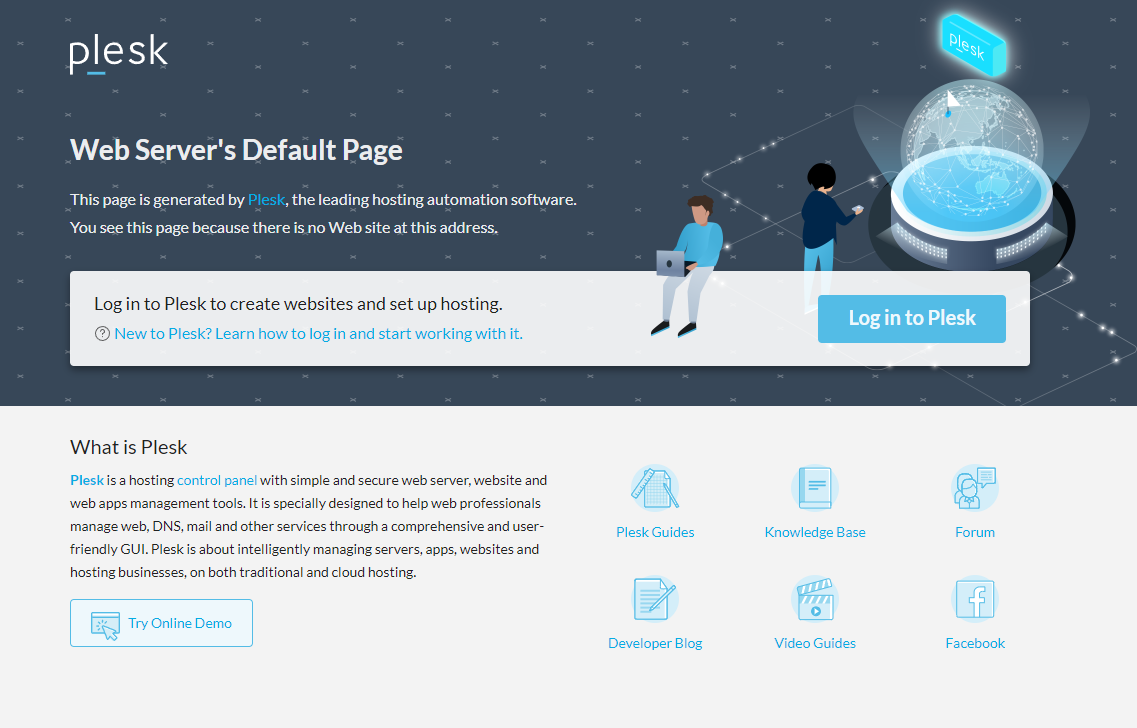
Don't be too quick!

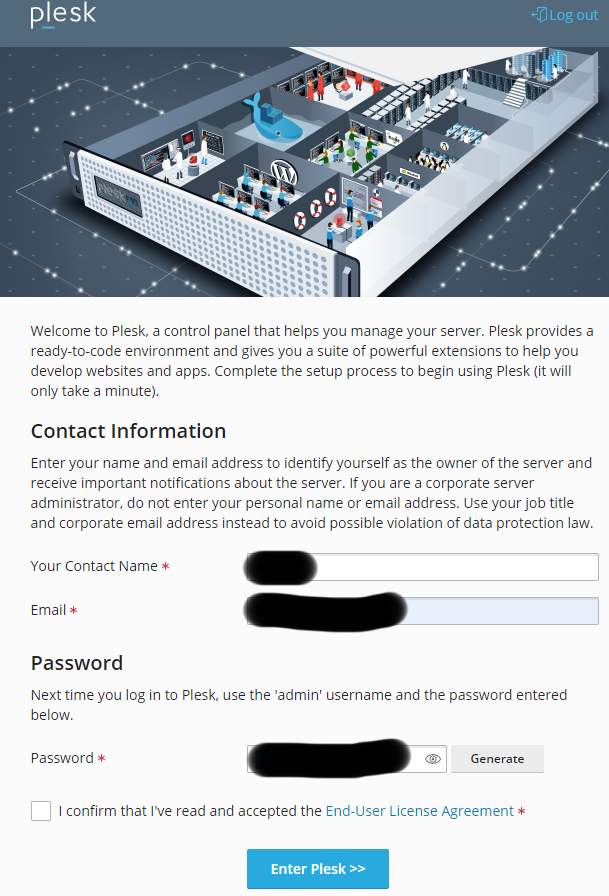
We will need to make an username and password, I'd recommend using a password manager like KeePassXC.
Plesk ready to use:
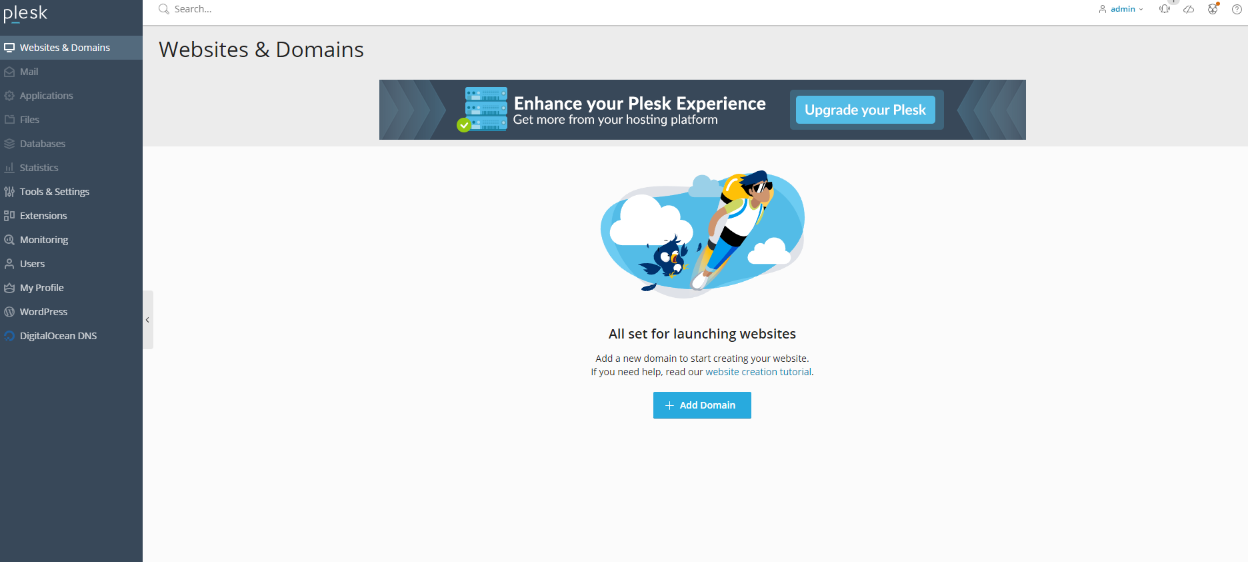
Click on add a new domain, if you don't have one just select temporary domain and go to the install WordPress step:
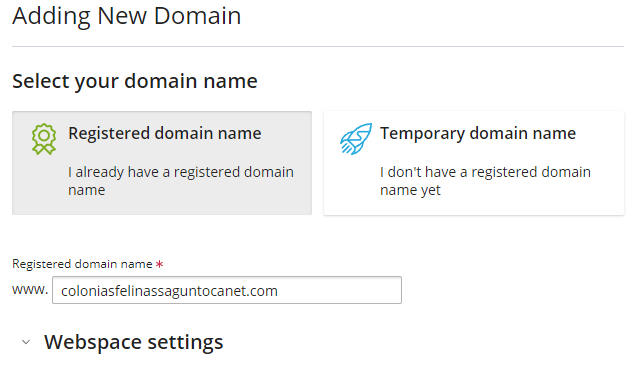
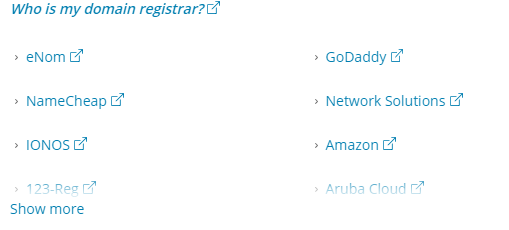
Once you have added your domain you will have to configure your DNS, just follow the link:
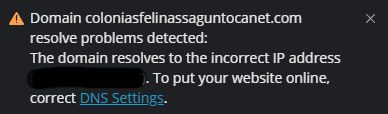
In my case I had to follow NameCheap 's instructions but you can pick your registrar.
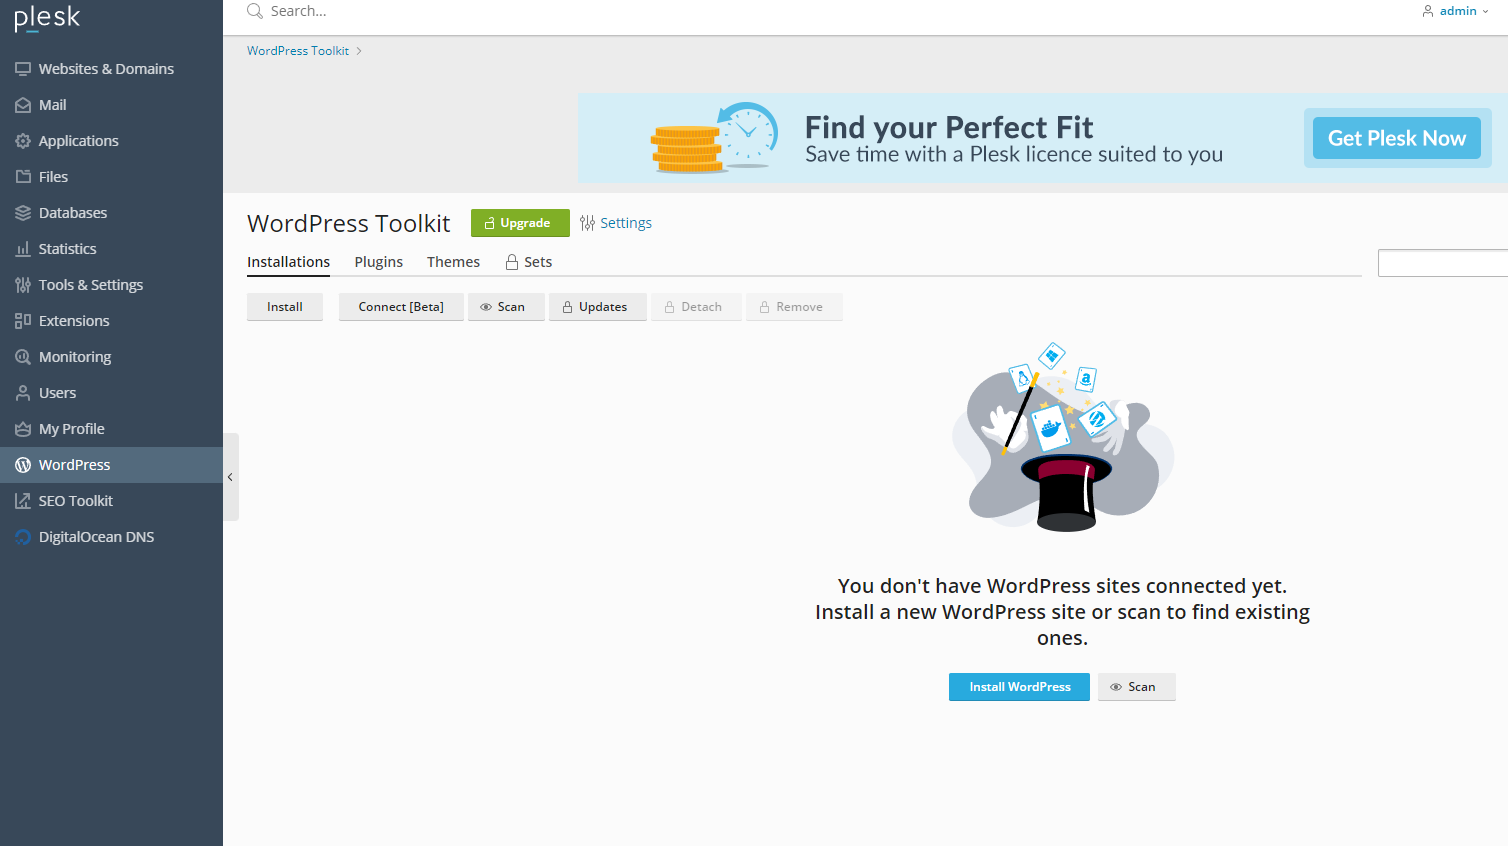
What we want to do next is go to WordPress and install the site:
It will ask for your admin's username and password:
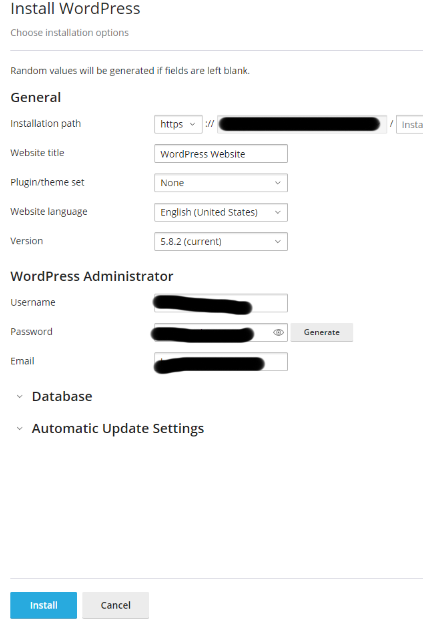
after you set that up it will install WordPress:

Set up SSL for our WordPress site
The first thing you will notice when you have your site ready is that it lacks a security certificate
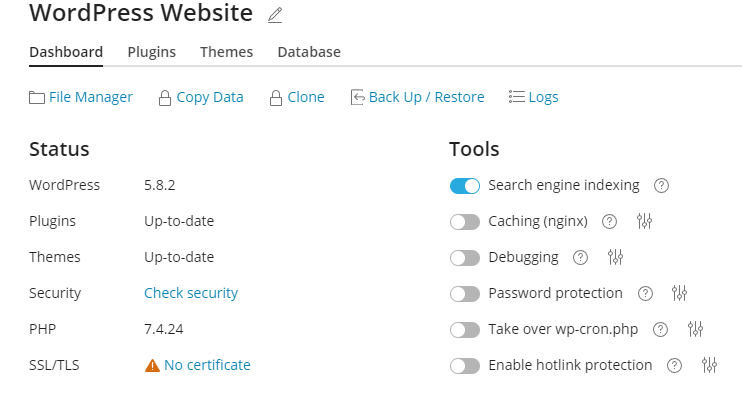
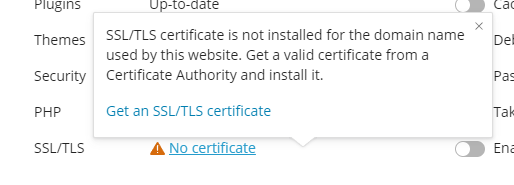
Web servers work through HTTP however in order to add security and encryption we add an SSL certificate (the 'S' in HTTPS stands for secure, so when you see https it just means the data is encrypted and secure). Just click on the "no certificate button" and "get SSL/TLS certificate":
You will see this page:
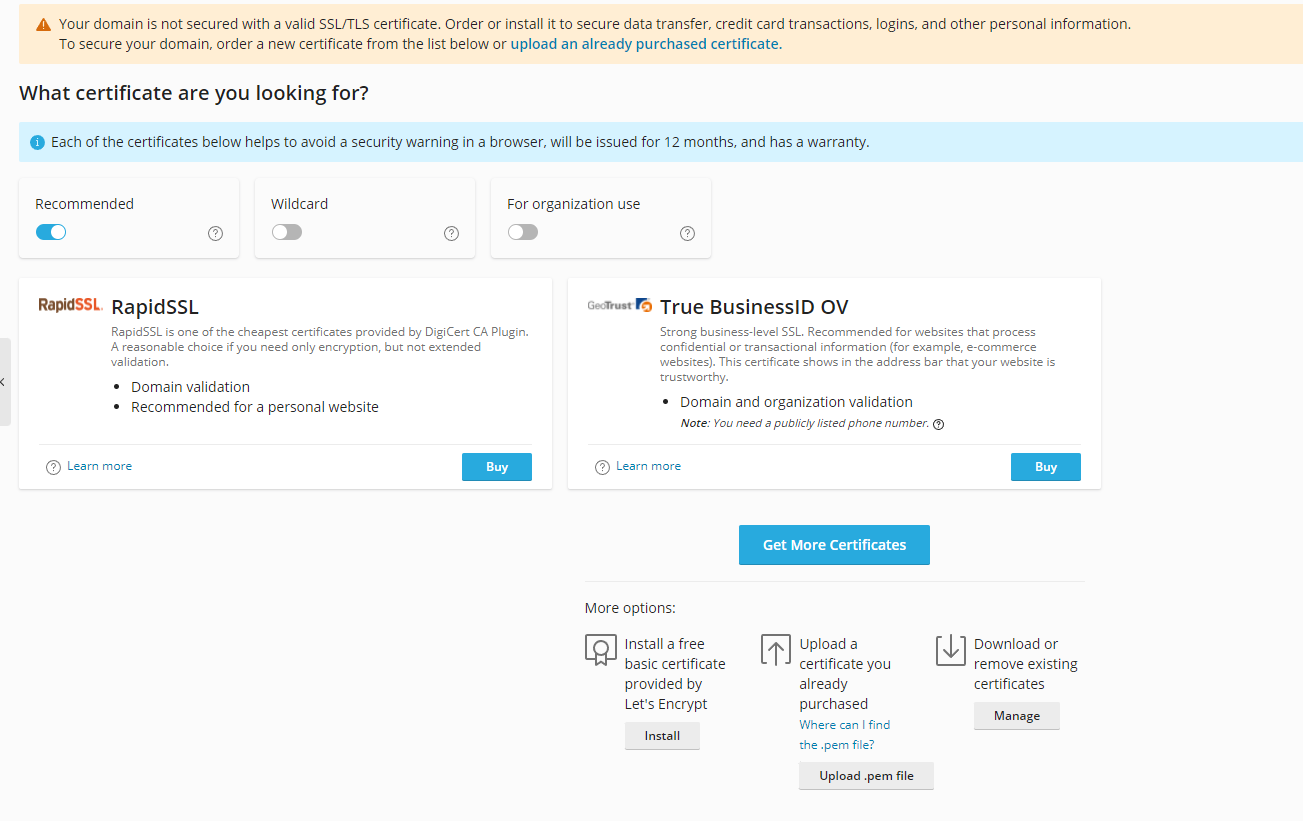
Feel free to buy one if you want, however a Let's Encrypt certificate is more than enough, click on install.
We want to secure everything since we will be using the webmail as well:
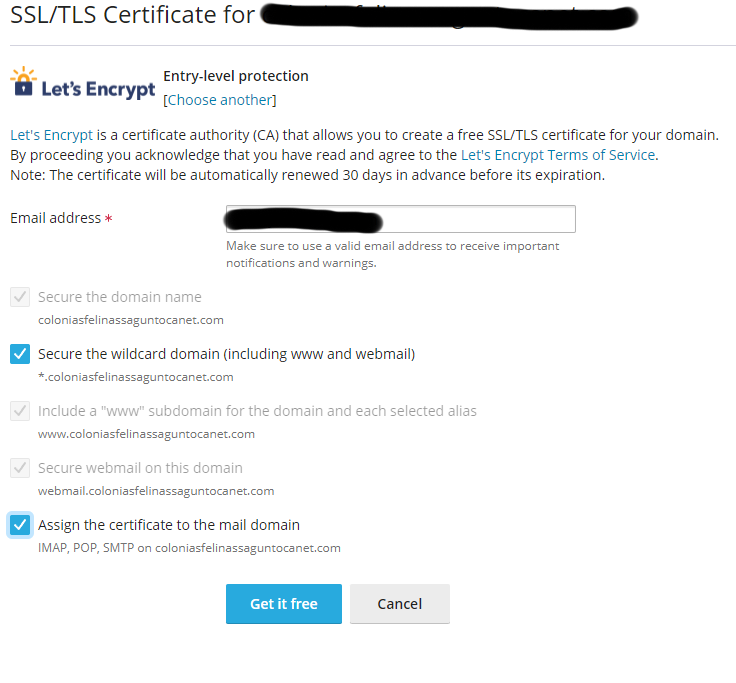
In order to validate our domain we will need to add a TXT record in our DNS:

Plesk does this automatically.
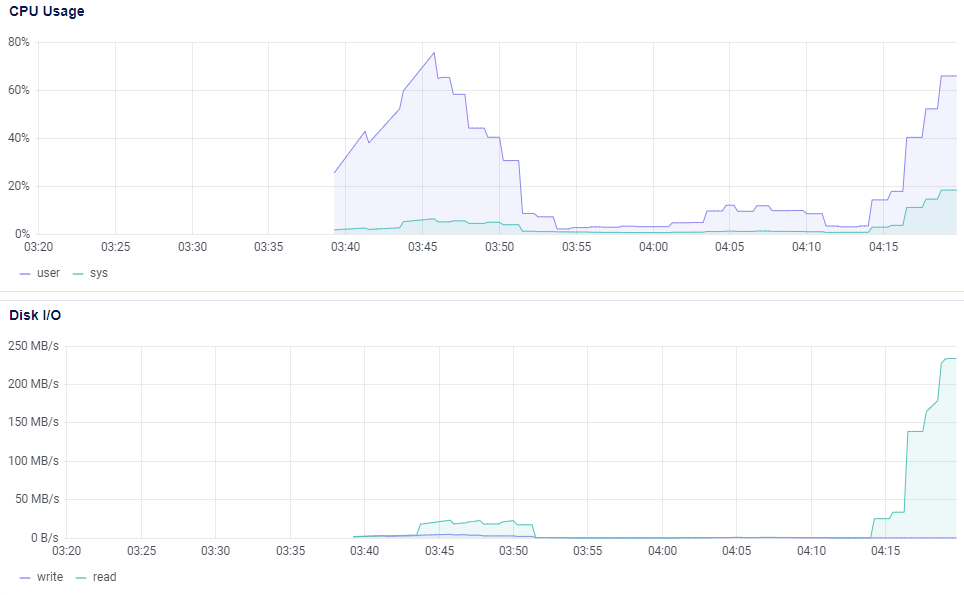
While this is going on your server (droplet) might suffer a bit, just be patient:
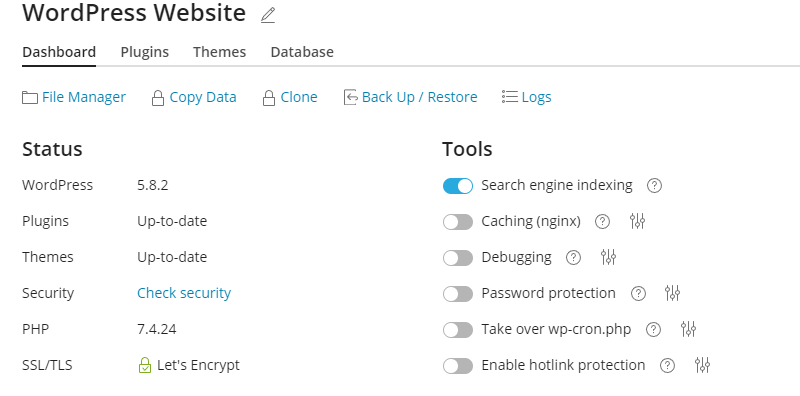
Once you are done you will see that your site contains https:
Set up the webmail on Plesk
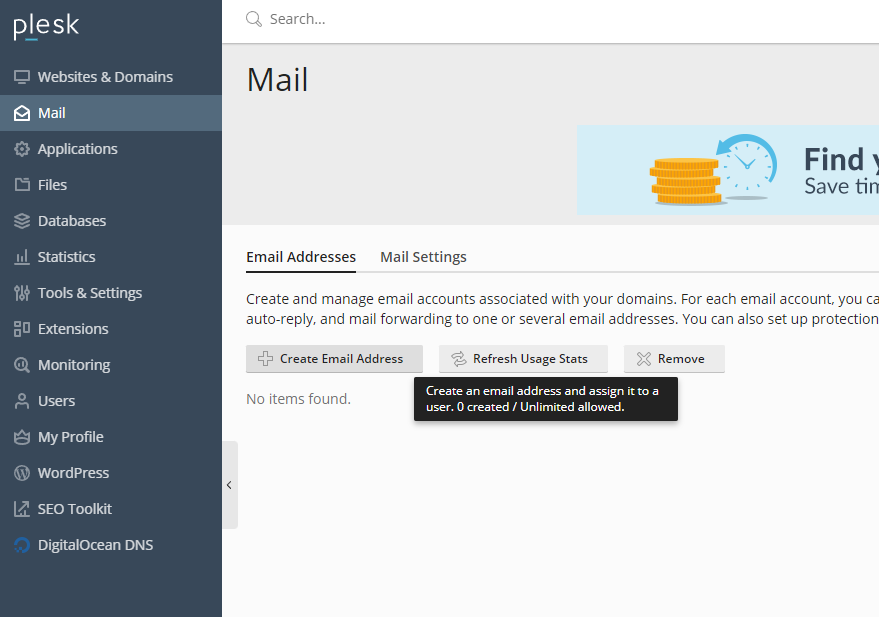
Our encryption is ready for our site, let's set up our email. Digital Ocean's default Plesk license allows 3 emails. Go to Mail and click on Create Email Address:
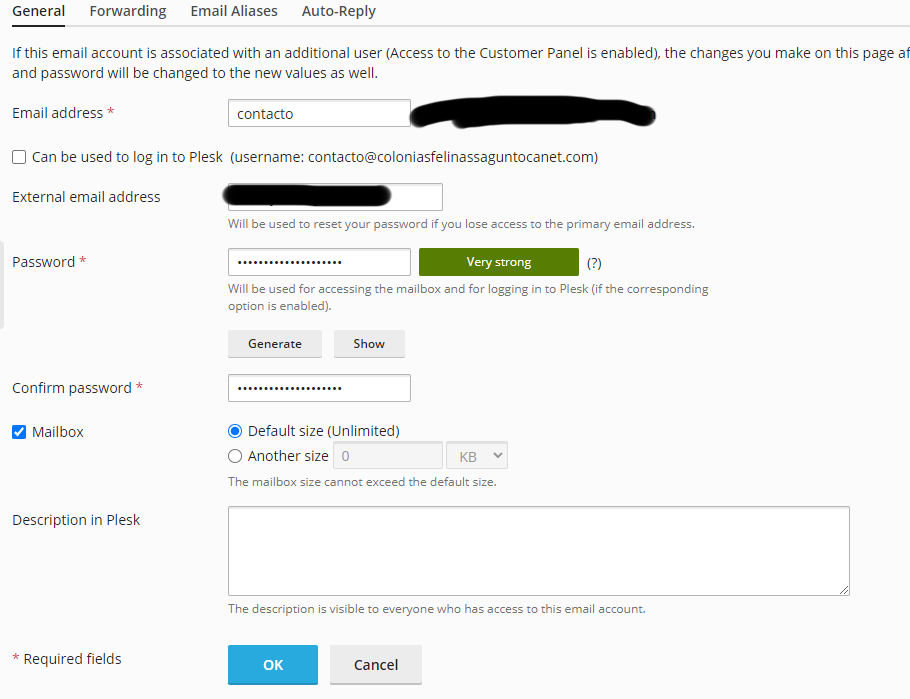
The next thing is to input the data, however I'd recommend on deactivating "Can be used to log in to Plesk" for security reasons:
In order to use our email we can open it through this button:
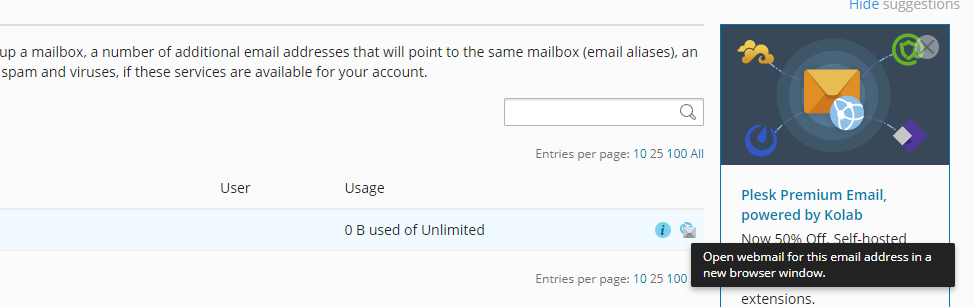 or just go to: https://webmail.your-domain.com
However due to security policies our outgoing mail is ending in spam, to fix this what we need to do is enable DKIM, go to mail, mail settings and click on your account, you will see the following:
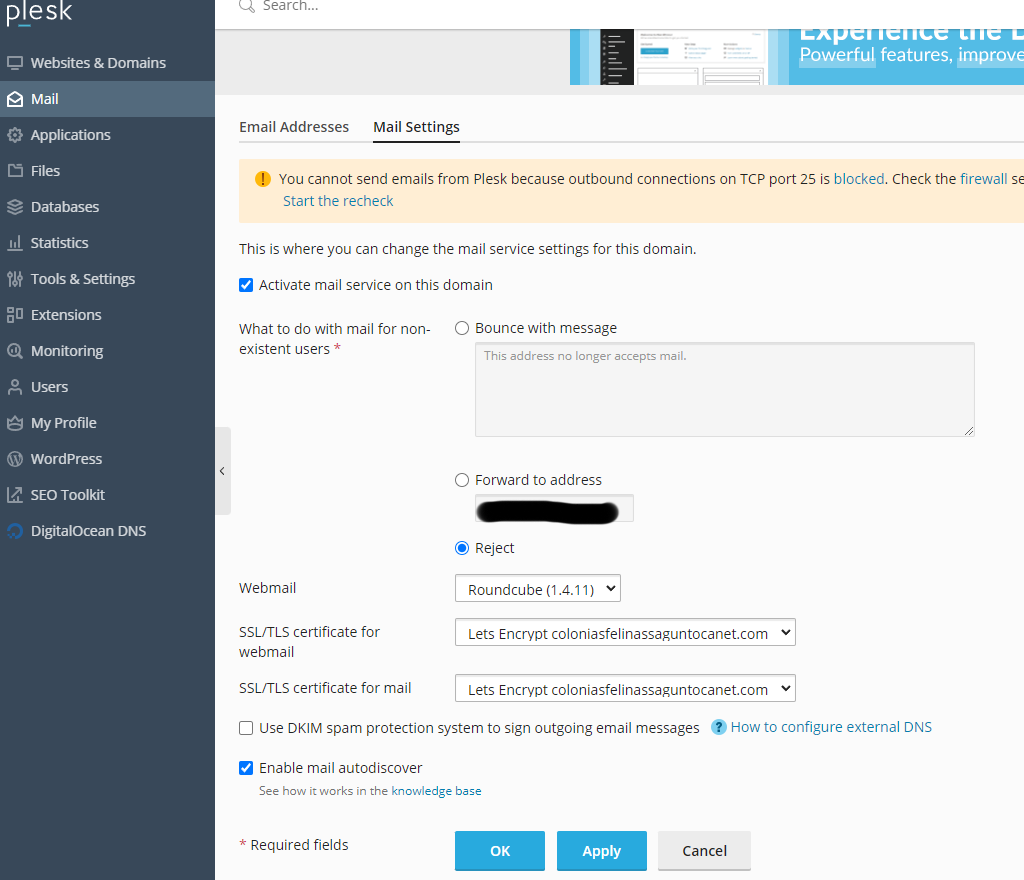
Check the DKIM box, click on apply and then OK:

And in order to get rid of the
You cannot send emails from Plesk because outbound connections on TCP port 25 is blocked. Check the firewall settings or contact your hosting provider. If you are sure that the ports are already open, Plesk can recheck them. Start the recheck
Just click on start Recheck, if you are not sure if it has worked go to your DNS settings and check for a DKIM record. I've had problems with this issue before, there's even a support article from Plesk here however you shouldn't worry about doing anything with the firewall. Another possible issue related to DKIM records can also be found here. The solutions is literally to turn it off and on, like always.

It's very important to double check that our email works properly before launching our site or starting a marketing campaign, make sure it doesn't land in spam!
Set up backups for your DigitalOcean droplet
DO NOT FORGET BACKUPS!
You can also use Plesk for backups but we are going to just snapshot our entire VM.
Go to droplets, click on your droplet and then click on backups:
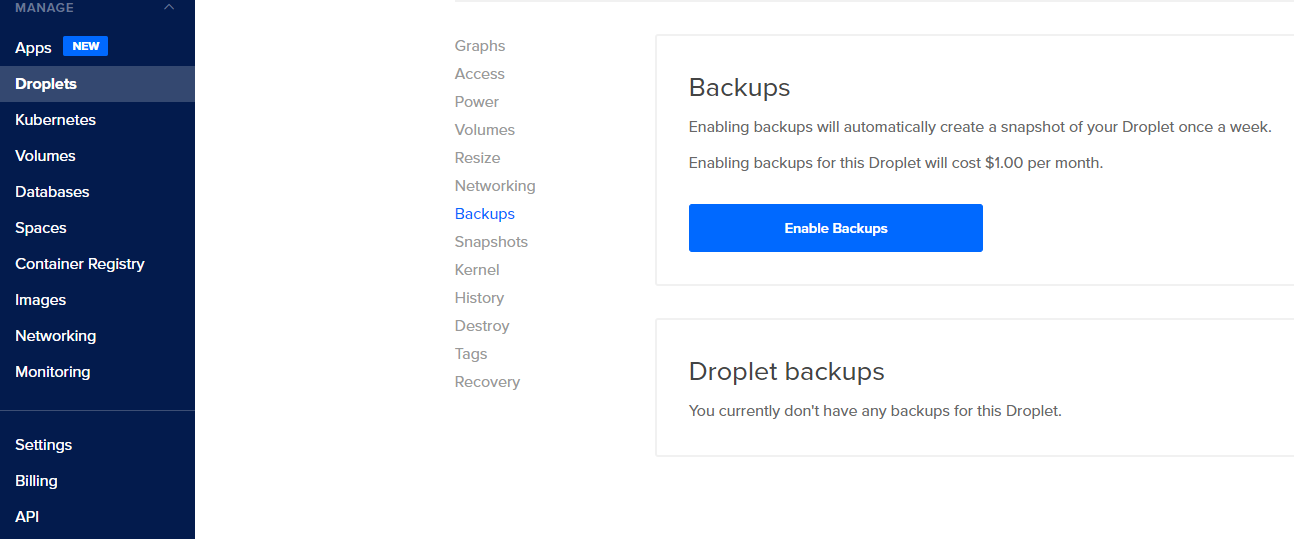
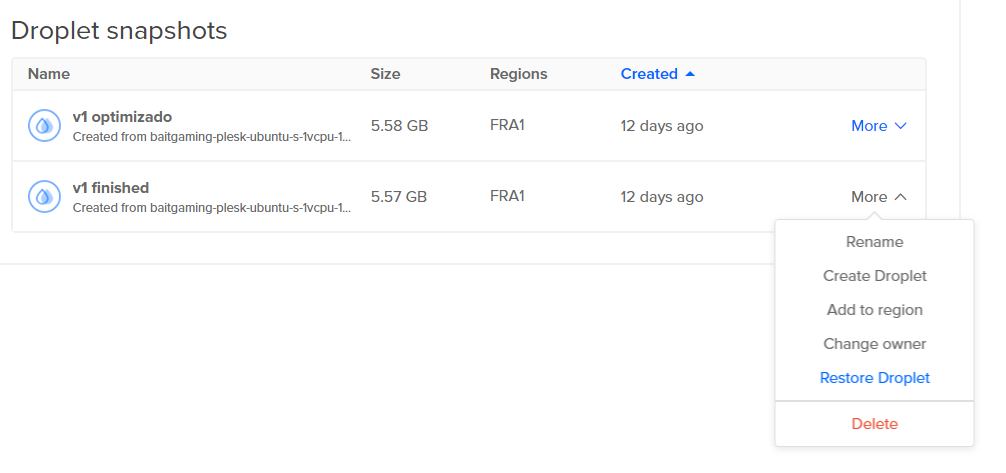
This costs an additional $1, however you can also just do Snapshots on your own, which is what I do for new projects that haven't exactly started yet:
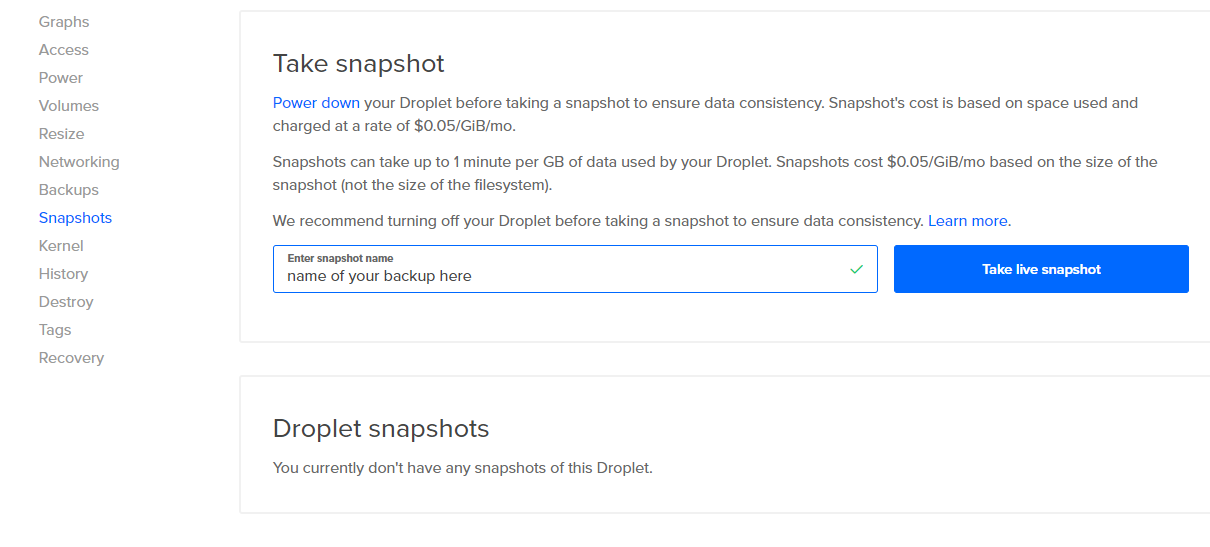 Once you have created your snapshot all you have to do is restore when things go wrong: